If you’re looking for a long-lasting, salon-quality manicure without the price tag, at-home dip nails may be the solution you’ve been searching for. Dip powder is a popular alternative to traditional nail polish and gel manicures because it provides a durable, chip-resistant finish that can last up to three weeks. Plus, it’s easy to apply at home with just a few simple steps.
Some of the information below includes affiliate links. When you click these links I may make a commission from your purchase. As an Amazon Associate, I earn from qualifying purchases.
During the pandemic, I learned how to do my own dip nails at home when salons were closed and I still wanted to keep up on my nail routine. What I found, is that after enough practice, you can get great looking nails at a fraction of the salon price and you can fix up nails that need to be filled at home as well! Making it convenient to be able to quickly take care of my own nails at home.
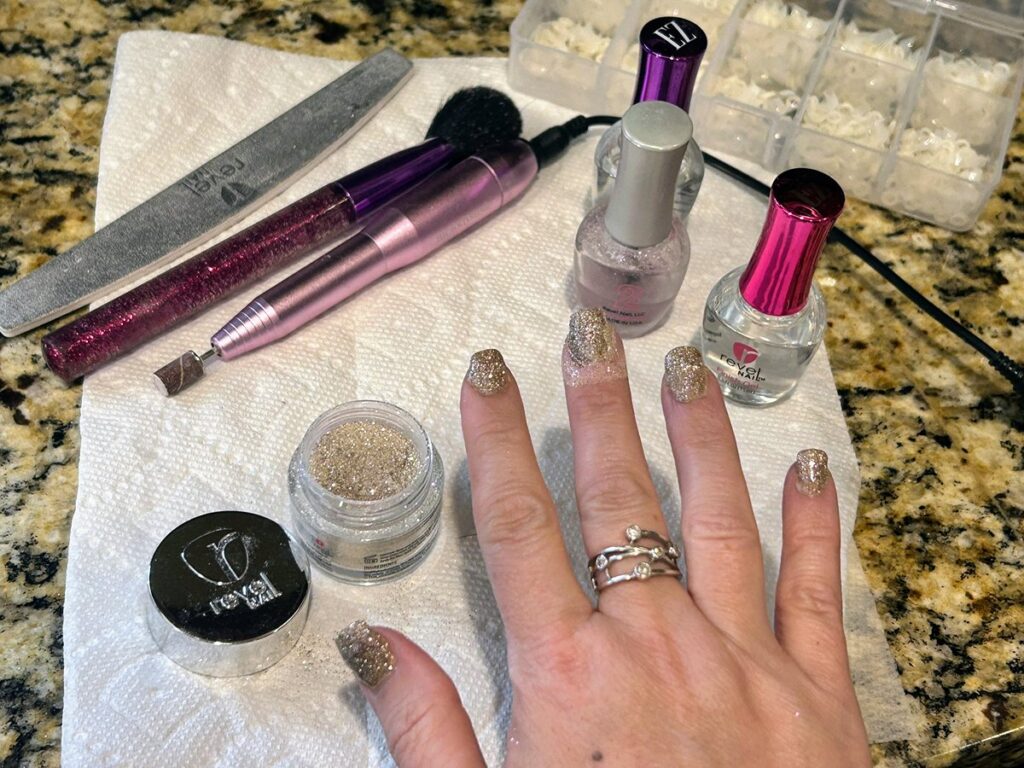
Before you get started, it’s important to properly prepare your nails to ensure the dip powder adheres correctly. This includes cleaning and sanitizing your nails, pushing back cuticles, and filing and buffing your nails to create a smooth surface.
Once your nails are prepped, you can begin applying the dip powder in thin layers, building up the color and thickness as desired. Finally, finish off your dip manicure with a top coat for added shine and protection.
Dipping Nails at Home
- Preparing your nails is crucial for a successful at-home dip manicure.
- Apply the dip powder in thin layers to achieve the desired color and thickness.
- Finish off your dip manicure with a top coat for added shine and protection.
There are a number of online groups that you can go to get nail design ideas, and I found that I also have picked up some great tips building up an apex properly and cleaning up my cuticle area.
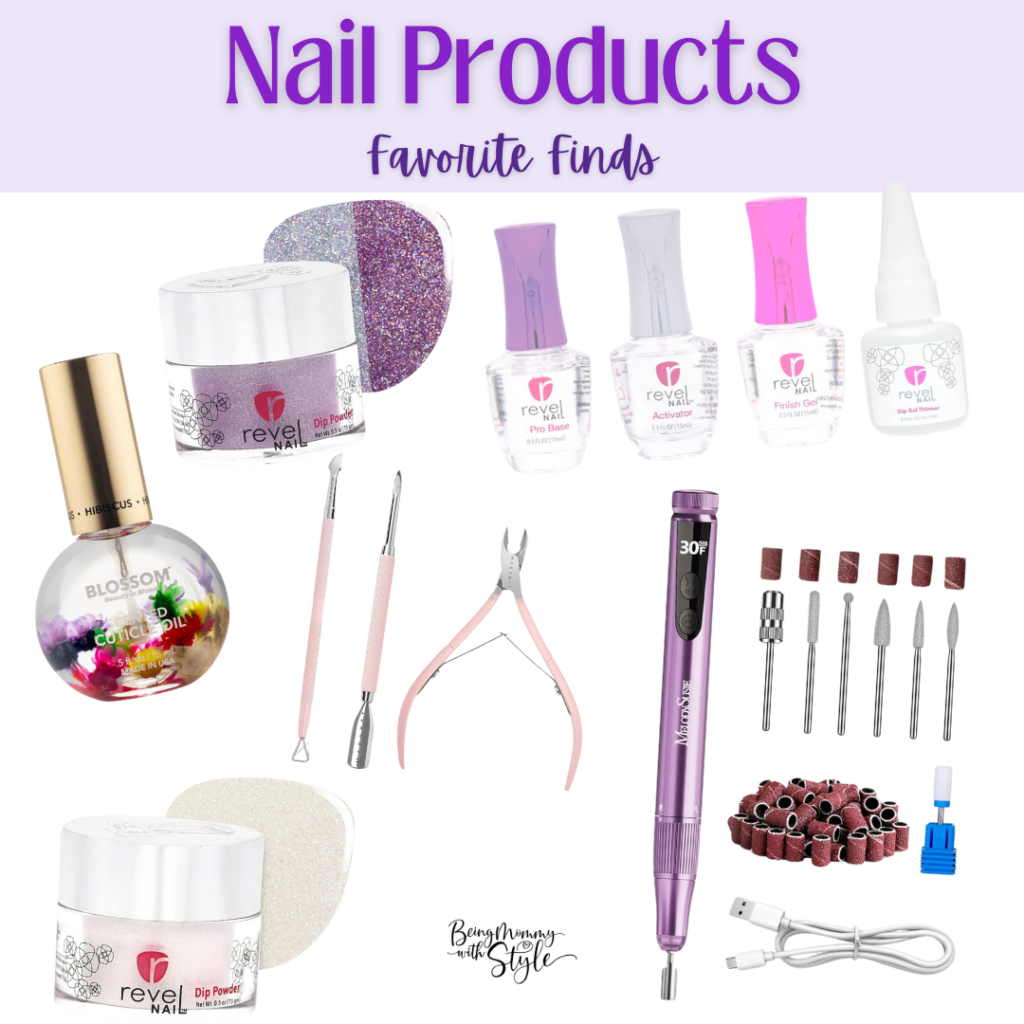
Found in photo:
Cuticle Oil / Purple Dip / Nail Tools / White Dip / Liquid Set / Electric File
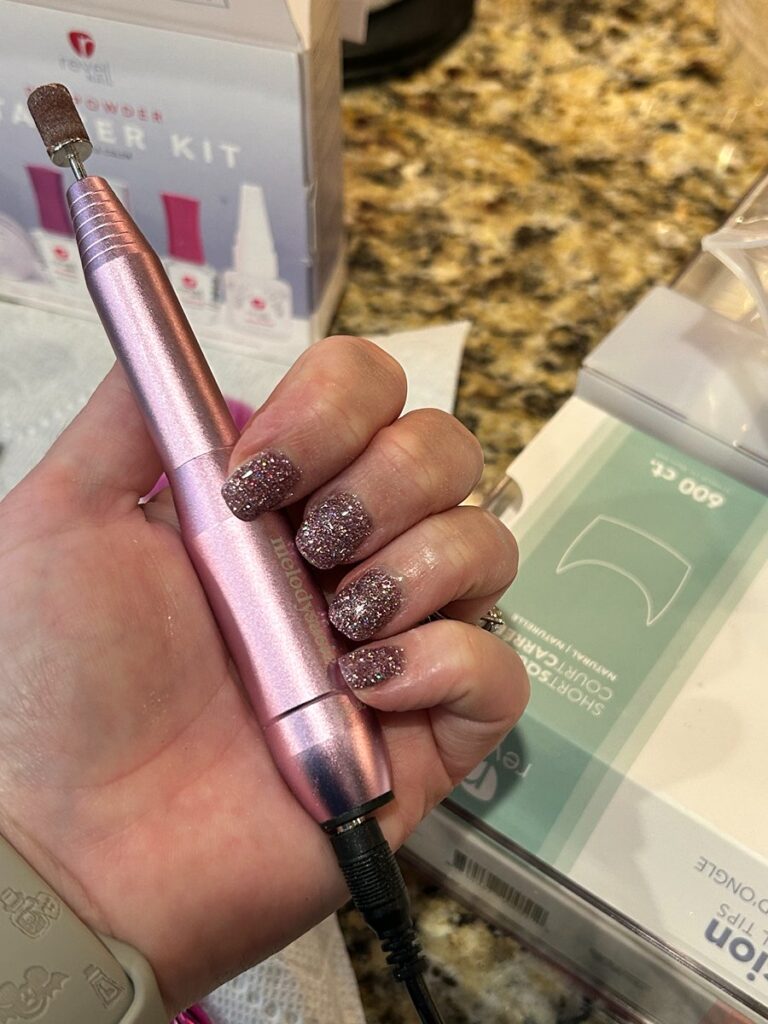
The supplies you use also make a huge difference, I personally found that using an electric drill was a must for getting the cleanest looking nails possible and I also really love Revel Nail products (which are now sold on Amazon too!) that were the easiest to work with.
Preparing Your Nails
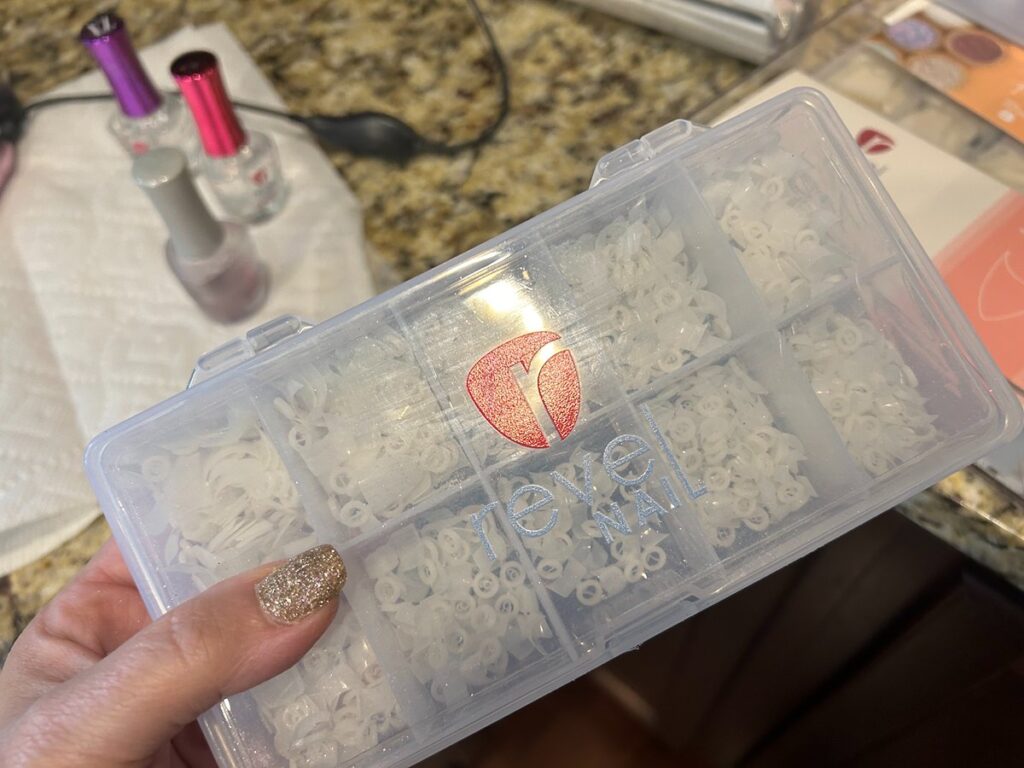
Before you start your at-home dip nails, it is important to properly prepare your nails. This will ensure that your nails are clean, smooth, and ready for the dip powder application. I apply nail tips to my natural nails with some glue before I begin, to enhance the length of my nails which do not grow out on their own. Revel Nail makes some great shorter length nail tips that are perfect for everyday wear!
Use these simple steps to prepare your nails:
Clean and Shape Your Nails
The first step in preparing your nails is to clean them thoroughly. Start by removing any old nail polish using a nail polish remover. Then, wash your hands with soap and warm water to remove any dirt or oil from your nails.
Next, use a nail file to shape your nails. Start by filing the tips of your nails to your desired shape. Then, gently file the sides of your nails to create a smooth and even shape. Be sure to file in one direction to avoid damaging your nails.
Buff the Nail Surface
After shaping your nails, use a nail buffer to smooth the surface of your nails. This will help the dip powder adhere better to your nails. Gently buff the surface of your nails using a back-and-forth motion. Be sure not to over-buff, as this can damage your nails.
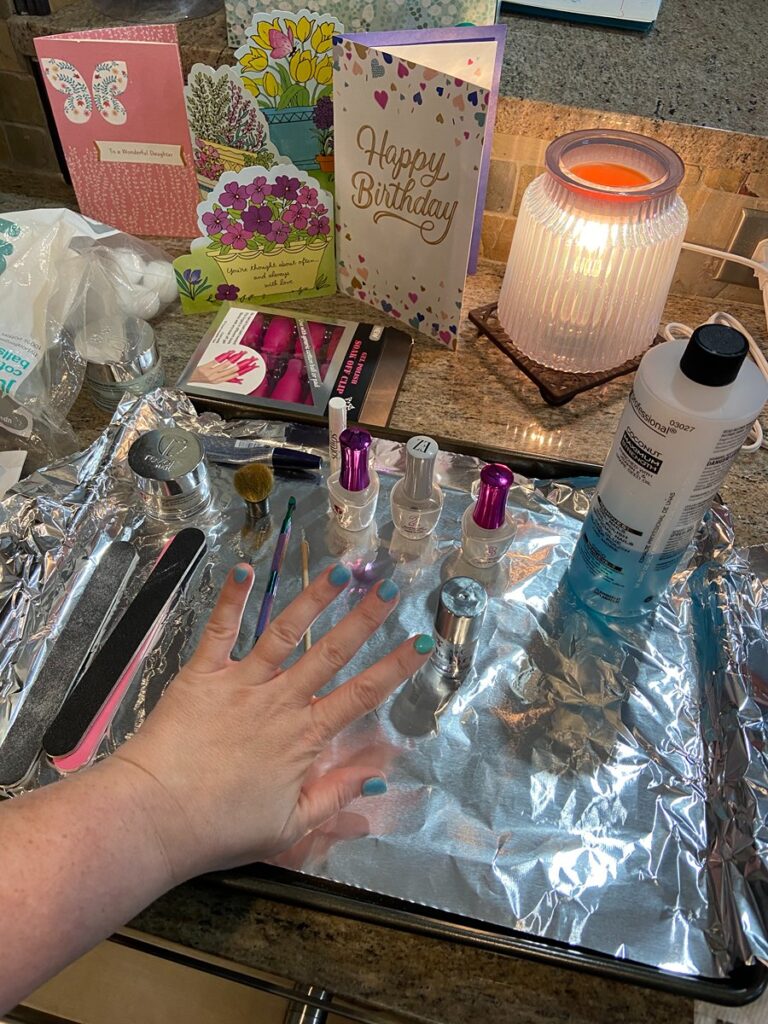
This it the regular length of my nails with no tips applied!
Apply Cuticle Oil
Finally, apply cuticle oil to your nails to hydrate and soften your cuticles. This will make it easier to push back your cuticles and create a clean nail bed for the dip powder application. Use a cuticle tool to gently push back your cuticles, being careful not to damage your nails.
Applying the Dip Powder
Applying the Base Coat
To start off, make sure your nails are clean and dry. Apply a thin layer of base coat to your nails and let it dry for a few seconds. The base coat helps the dip powder adhere to your nails better and also prevents any staining.
Dipping into Powder
Now, it’s time to dip your nails into the clear dip powder. Take the “Step 1” or base coat polish brush that comes with the kit and dip it into the powder. Tap off any excess powder and then apply a thin layer onto your nails. Repeat this process for each nail, making sure to tap off any excess powder each time.
Building an apex on the nail helps it to maintain its strength and is a technique to protect your natural nails when you doing a dip powder manicure. Slowly build up the amount of dip powder that you use, so that you don’t over apply product or flood your cuticle.
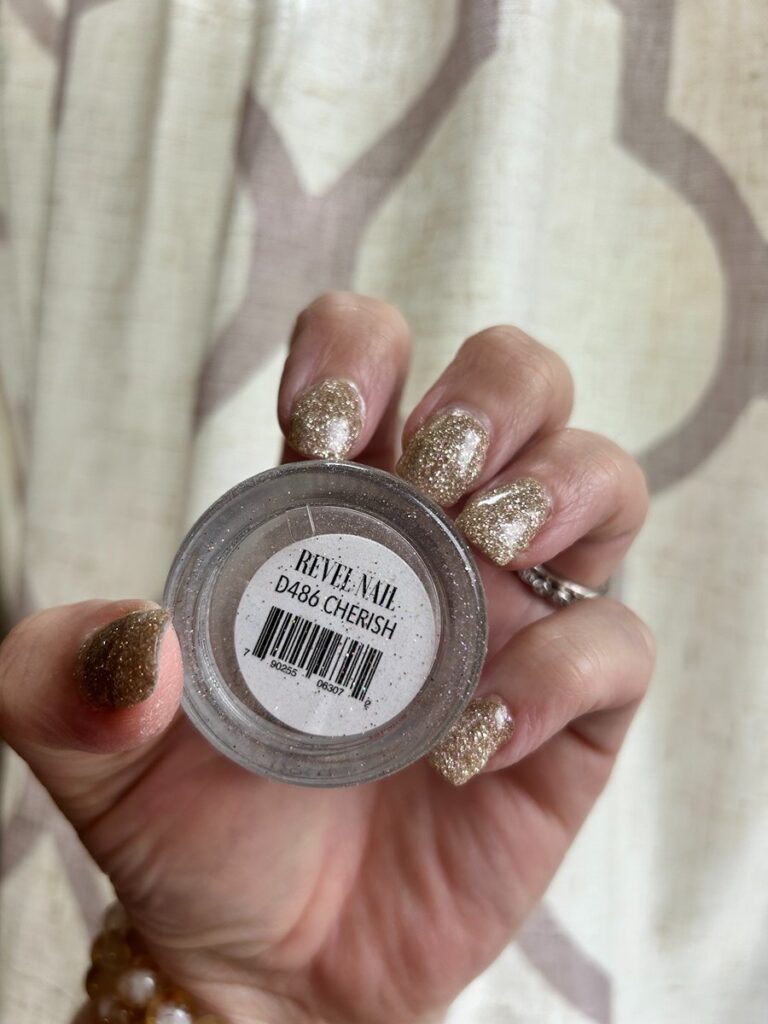
Start with one thin line down the middle of the nail as your base, then fill in the next layer with a light coat of powder over the entire nail, then do a second full layer over the nail. For most colors and especially glitter powders, those two full coats may be enough to fully cover the nail. More translucent powders may need a third full coat.
Using Activator
After you’ve applied the dip powder and it has dried, it’s time to use the activator. Apply a thin layer of activator to each nail and let it dry for a few seconds. The activator helps harden the dip powder and also gives it a glossy finish.
It’s important to apply the dip powder in thin layers to avoid any lumps or bumps. You can always add more layers if needed, but it’s easier to add more than to remove excess powder.
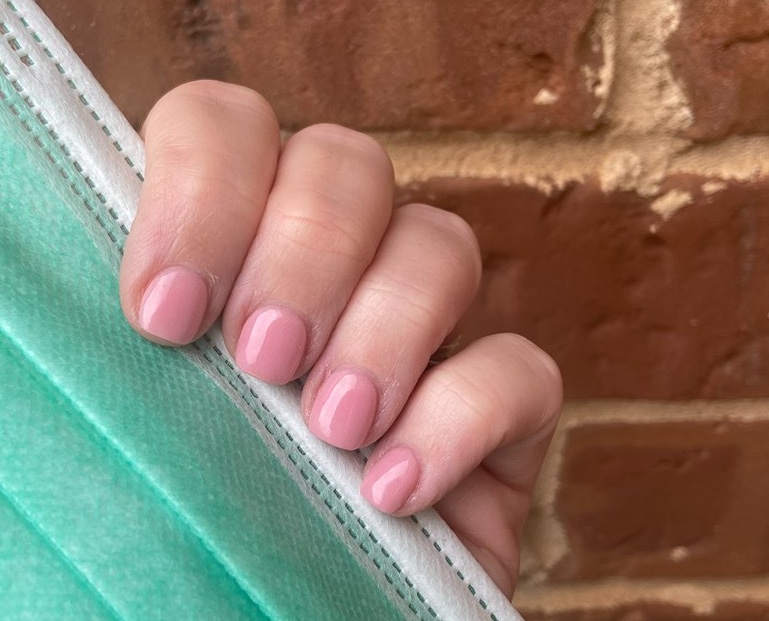
After your first round of applying the activator and letting it dry, you’ll want to go in and buff the nail.
Smoothing around the cuticle edges and even using the electric nail drill if you need to file down in specific areas. Working a lot on this step will help you have the cleanest nail lines possible.
Top Coat Tips
Once you’ve applied the activator a second time, you can give a final buff on your nails to smooth out any imperfections. Finally, apply a top coat over the entire surface to seal in the dip powder and give your nails a shiny finish. I apply a second coat of top coat to ensure that it is seals them as much as possible for long-lasting nails.
Achieving the Perfect Finish
When it comes to achieving the perfect finish for your at-home dip nails, there are a few tips that will help you achieve the best look possible. By filing and shaping your nails, applying the top coat properly, and allowing them to dry and set, you can achieve a salon-quality finish right in the comfort of your own home.
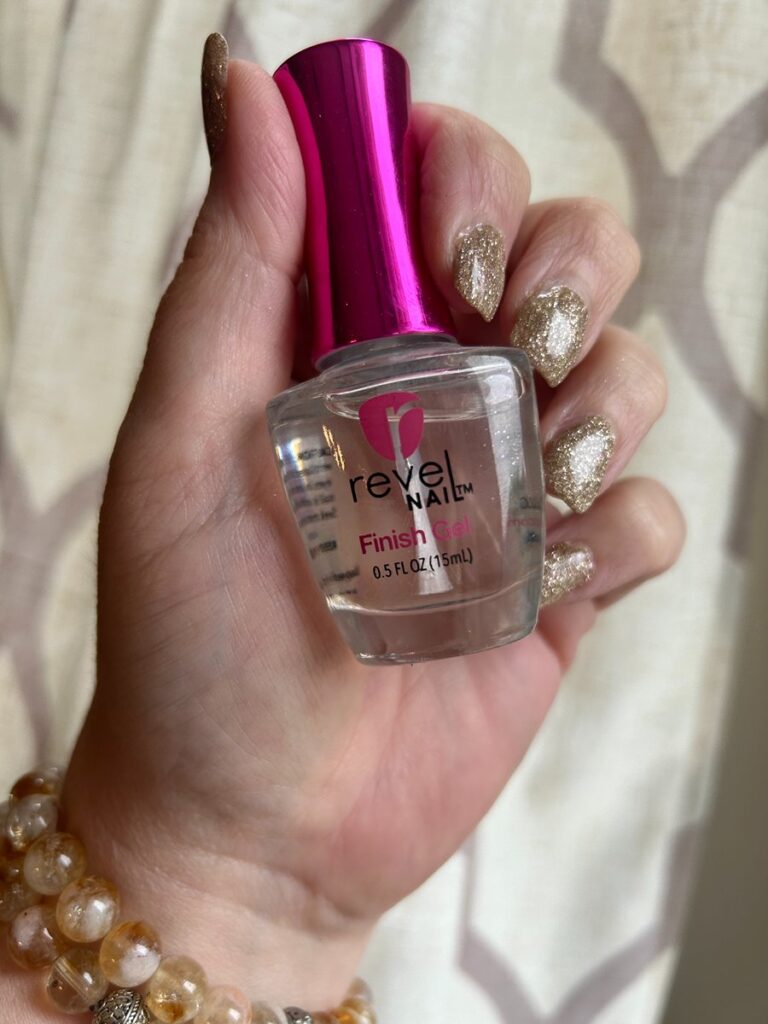
Found in photo: Revel Nail Finish Gel
Use Light Coats
After you’ve applied the top coat, it’s important to allow your dip nails to dry and set properly. This can take anywhere from a few minutes to a few hours, depending on the type of dip nails you’re using. Make sure to avoid touching your nails or doing anything that could smudge or damage the top coat while it’s drying.
Trust the Process
So much of doing your own nails at home is practice and repetition, learning what works best for you. Trust the filing and buffing process, as this is one of the most important steps if you haven’t over-applied product and you’re using good quality products. The buffing and filing step will be what gives your nails a professional look.
This can be harder to do on yourself when using your non-dominant hand on your dominant hand, but the more your try it and practice, you’ll find what gives you the best results.

Best Top Coat for Dip Nails
After trying a number of different types of liquids, the Revel Nail liquids are definitely my favorite! The top coat dries quickly and it gives a nice glossy finish.
Drying and Setting
After you’ve applied the top coat, it’s important to allow your dip nails to dry and set properly. This usually takes around 5-10 minutes with the Revel Nail liquids. Make sure to avoid touching your nails or doing anything that could smudge or damage the top coat while it’s drying.
Maintenance and Aftercare
Regular Cuticle Care
Maintaining your cuticles is essential to keep your dip nails looking fresh and long-lasting. After applying your dip powder, use a cuticle pusher to push back your cuticles gently. Then, apply cuticle oil to moisturize and nourish the cuticles. This step helps to prevent the dip powder from lifting and peeling away from the nail bed.
Touch-ups and Fills
Dip nails are durable and long-lasting, but they still require regular touch-ups and fills to maintain their appearance. Depending on your nail growth rate, you may need to fill in the gap between your natural nail and the dip powder every two to three weeks. I typically get around two weeks out of my dip nails before I need to fill them in.
To start a fill in where you may leave an added tip, lightly buff the surface of the dip powder and apply a new layer of base coat, dip powder, and activator. Finally, buff and shape the nails to your desired shape.
To remove your dip nails completely, just soak a cotton pad in acetone and wrap it around your nails. Secure the wrap with aluminum foil or nail clips, and leave it on for 10-15 minutes. Then, remove the wrap and use a cuticle pusher to gently remove any remaining dip powder. Finally, clean your nails with alcohol to remove any residue.
Revel Nail also makes a great removal kit with a step-by-step guide on removing your dip nails. You can use Revel Nail products for the entire process, start to finish!
Tips for Advanced Techniques
Creating Nail Art
If you want to take your at-home dip nails to the next level, try adding some nail art! You can use glitter, stickers, or even freehand designs with a nail art brush. To create intricate designs, use a fine-tipped brush and take your time. Don’t forget to seal in your design with a top coat.
You can also find some great nail art designs like these on Amazon!
Working with Extensions
If you want to add length to your dip nails, consider using extensions. You can use tips or forms to create the desired length and shape. Make sure to prep your nails properly before applying the extension to ensure it adheres correctly. Use an e-file to shape and refine the extension for a natural look.
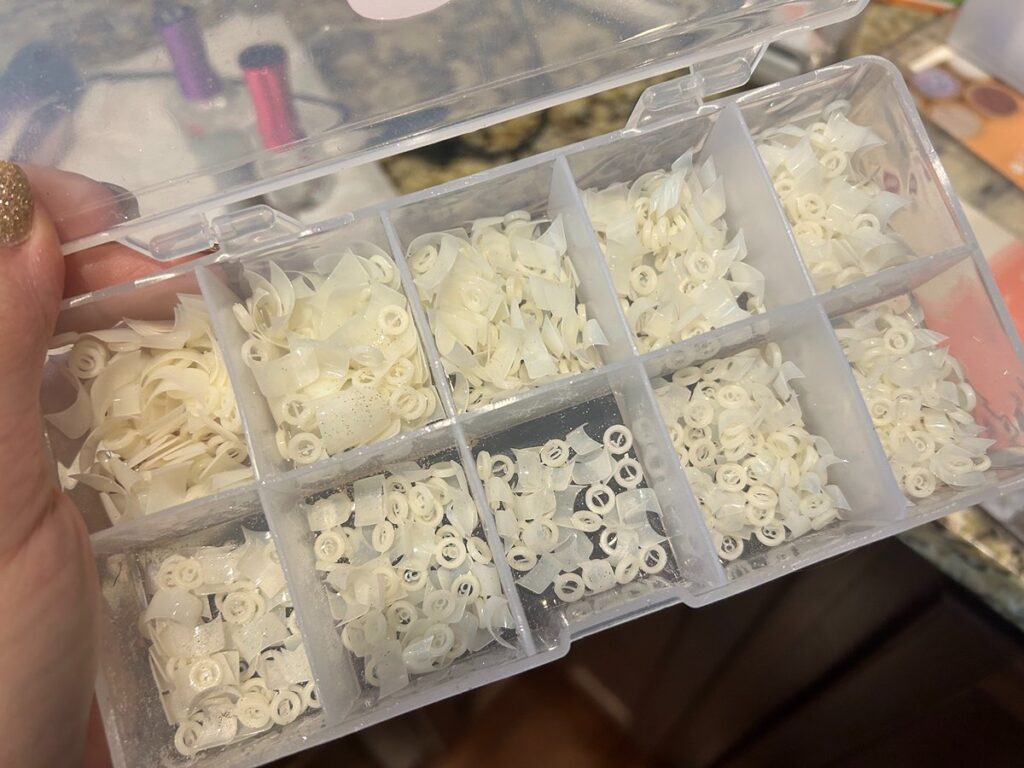
I prefer the short style nail tips from Revel Nail, because they enhance my shorter nail beds without being overwhelming.
Becoming Your Own Nail Artist
Prior to the pandemic, I never envisioned myself becoming my own nail technician! With a little practice, I was able to learn how to do my own dip nails at home that took less time than going to the salon and cost less over time as well! I still go to the salon for special occasions and to get pedicure – but most days the nails that I wear for every day are ones I’ve done on my own!
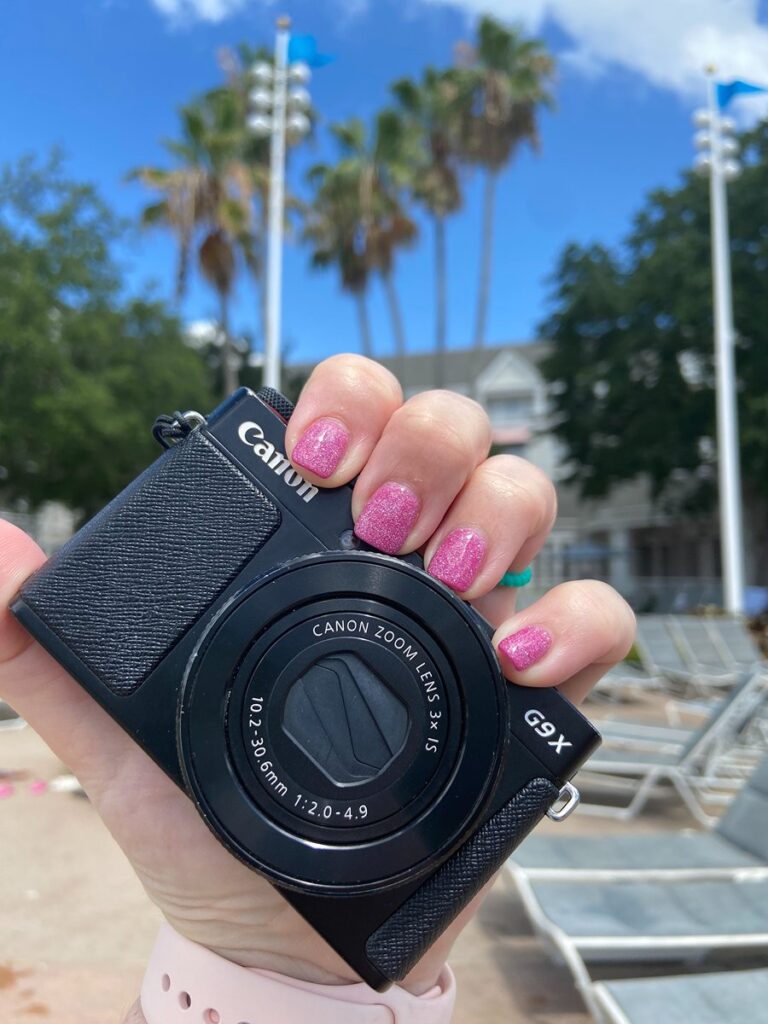
Even most of my Disney trip nails are ones that I have done at home!

So if I can do it, anyone can do it! Just trust the process, build in time to practice, and make sure you have the right tools for the job! Good luck! Tag me on Instagram when you do your own nails at home!

** All opinions are my own. This post contains affiliate links. Being Mommy with Style is a participant in the Amazon Services LLC Associates Program, an affiliate advertising program designed to provide a means for sites to earn advertising fees by advertising and linking to amazon.com. As an Amazon Associate, I earn from qualifying purchases.
